Find the broken handoff
Start where you last saw the cargo. Check the next transfer before adding capacity, and separate a journey that never completes from one that completes too slowly.
Jump to a section
Sources, dates & scope
Warehouse access and stop-level cargo/departure settings rechecked against official sources on October 21, 2026; the diagnostic has not been playtested.
OFFICIAL CARGO RULES · HANDOFF CHECKLISTA useful first question is where the goods stop moving: at production, on the first vehicle, in storage or at the receiver. Start there. Rebuilding an entire chain can erase the clue that would have located the problem.
Official source: Urban Games manual · Warehouses ↗Source date/status: Checked October 19, 2026. Check the linked source for its current details.Additional source: Urban Games manual · Industries and Cargo ↗
Additional source: Urban Games manual · Stations and Depots ↗
Additional source: Urban Games · Industries and Cargo development blog ↗
Additional source: Urban Games manual · Lines and Vehicles ↗
Additional source: Urban Games · Episode 2: Industries and Cargo ↗
| Last thing you can confirm | Inspect next | Useful evidence |
|---|---|---|
| Output exists at the producer | First pickup | A vehicle actually acquires that cargo |
| Collection vehicle has cargo | Its unloading handoff | The intended stock increases |
| Warehouse receives cargo | Onward collection and destination | Cargo leaves storage and reaches the receiver |
| Deliveries happen, but a queue grows | Activity at the front of the queue | The repeated source of waiting |
Vehicles are queuing: check the loading point first
Watch the vehicle at the head of the queue. Is it transferring cargo, waiting without transferring, or unable to reach its stop? Those observations lead to different checks; ‘the line is slow’ does not identify one.
The cargo development blog describes basic industry docks as slower than purpose-built alternatives. The station manual also explains that specialization can help matching cargo and hinder other types. Inspect the cargo actually using the stop before choosing an upgrade. For mixed traffic, a faster specialized terminal for one load may be a poor choice for the next. Do not buy another truck until you know whether it would spend its time travelling or joining the same queue.
Map the handoffs, not just the lines
Use this example as a worksheet: producer → collection vehicle → warehouse → delivery vehicle → receiver. It is a generic chain, not a production recipe. At each arrow, write either ‘seen’ or ‘not yet seen’ beside an observed transfer.
If the first vehicle is full but the warehouse never gains stock, inspect that handoff. If warehouse stock rises but the onward vehicle leaves empty, check the warehouse's Stocks row for that exact cargo and whether the warehouse is inside the onward station's catchment. Then select the onward line in Line Manager: at its warehouse stop, open the stop configuration or cargo icons and check that this cargo is allowed to load at a positive percentage. Check the vehicle can carry it. The official manual calls this the stop-level cargo filter.
If the vehicle waits instead of departing, compare its departure setting with ‘Load if available’: a Full load setting can make it wait for a complete load. Use a save copy when changing the setting and observe the next stop. If the cargo leaves storage but the receiving factory's matching Input Stock does not rise, check that the destination station covers that factory and that it consumes this cargo. These checks separate loading, transport and delivery; an empty return alone does not diagnose the failure.
No cargo or slow cargo? Choose the right branch
For a chain that has never delivered, try to confirm one successful transfer before measuring throughput. For a chain that delivers intermittently, identify where the gaps appear. For a chain with a growing queue, inspect the activity at the front rather than counting vehicles at the back.
The table separates these cases. Use it to choose an investigation, not as an automatic diagnosis. In particular, a large stockpile does not tell you whether the next service is absent, wrongly configured or merely late.
Compare an upgrade without hiding its cost
Take a save copy before a substantial rebuild. Pick a fixed observation period and note completed deliveries, queue length at the same location and spending. Change the loading arrangement or the fleet, rather than both together.
A shorter queue is useful only if the goods reach the receiver as intended. If the queue vanishes because fewer loads arrive upstream, the loading point has not necessarily improved. Check both ends of the experiment. Keep an upgrade when its benefit matters for this route and its cost fits your budget; there is no need to specialize every facility simply because the option exists.
The warehouse is full but the nearby factory receives nothing
The warehouse manual explicitly says factories and town buildings cannot take stored cargo directly. There must be onward transport. Vehicle transfers require the warehouse to fall within the relevant station's catchment.
After checking that link, inspect the receiver itself. The industry manual exposes input and output stocks: use the relevant input, not the building's appearance, to judge whether this delivery arrived. Avoid adding storage while the missing step is getting goods out of it.
Check the selected cargo in a specialized module
Open the warehouse's Stocks section and inspect the module's cargo selection. A specialized module stores one cargo type at a time. Two products in the same broad category still need separate modules if both are to be stored.
The documented timer benefit applies while cargo is in specialized storage; it is not a fresh delivery allowance. Decide which goods the transfer actually needs to hold, then provide that storage. An extra empty module is not evidence that the incoming and outgoing services can use it.
The 37 cargo types and four handling categories
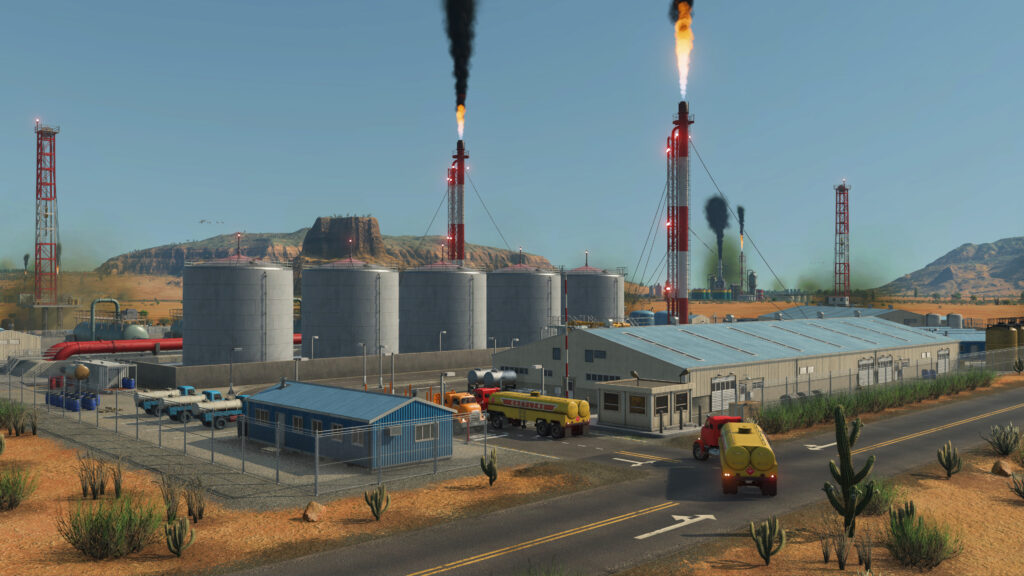
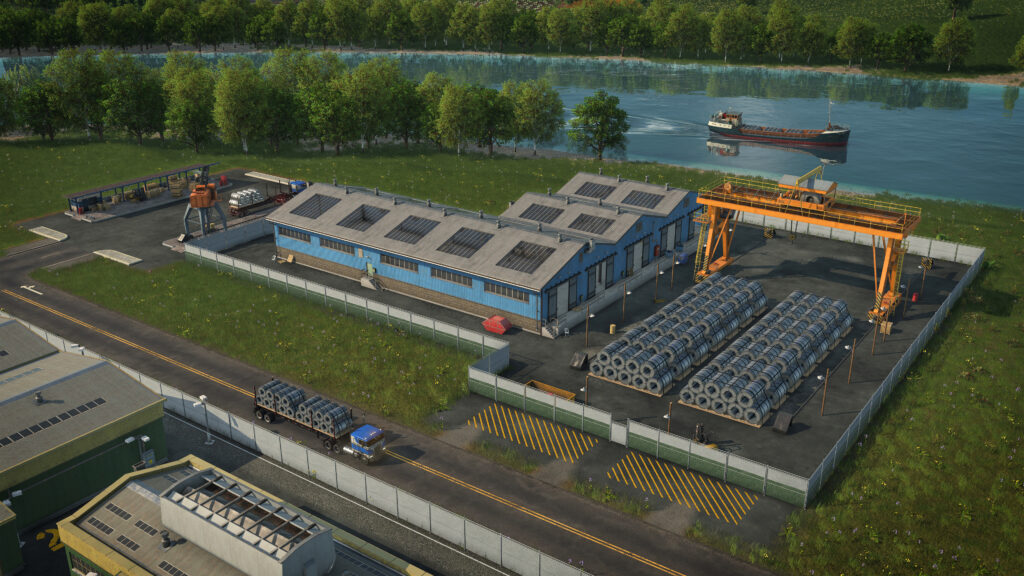
The official cargo blog lists a total of 37 cargo types and sorts them into four handling categories, and that category decides how a cargo is stored and which vehicles can move it. Liquid cargo such as oil and fuel is stored in tanks or barrels and travels in tankers. Bulk cargo such as sand and grain is stored in silos or heaps and travels in open wagons and trucks. Flatbed cargo such as logs and steel is stored in the open, is loaded by cranes and travels on flat vehicles. Goods such as canned food and glass are stored in freight sheds and travel in closed vehicles. A universal vehicle can carry anything, which makes it a common way to start. A specialised vehicle loads and unloads its own category faster but cannot carry cargo from another category, and stations and warehouses follow the same split.
How a chain grows: the official canned food example
The official blog uses canned food to show what a multi-stage chain looks like. It is an end product that larger towns demand. It always needs tinplate as a base component, and the filling can be meat, fish or a mix of both. Which fillings exist depends on the climate zone: the blog says arid zones have no fish farms, so canned food there can only be made with meat, while subarctic zones offer both. Meat and fish are also bought directly by towns, and grain and tinplate feed other industries, so a single end product can pull on several chains at once. We have not verified the full recipe list or the industry table for every climate.
Boosters: workers, fertilizer, tools and machines
When an industry cannot keep up with demand, the official blog describes two kinds of booster. Any industry can be boosted by supplying workers from nearby towns. Raw-material industries can be boosted further with cargo: farms with fertilizer, mines with tools or machine parts. A booster raises output above the normal level. It is not a basic requirement, so production does not stop just because no worker line reaches an industry. The trade-off is the familiar one: more output means more traffic to carry it, plus additional costs, pollution and noise. That is why the blog frames a booster as one option next to sourcing the goods elsewhere. We have not measured how large the output gain is.
The transfer rules are documented by Urban Games. The handoff worksheet and diagnostic order are our own synthesis; the diagram is conceptual, and this page does not claim a tested layout or a universal fix.
Read our editorial policy →